
 Manual - Charts
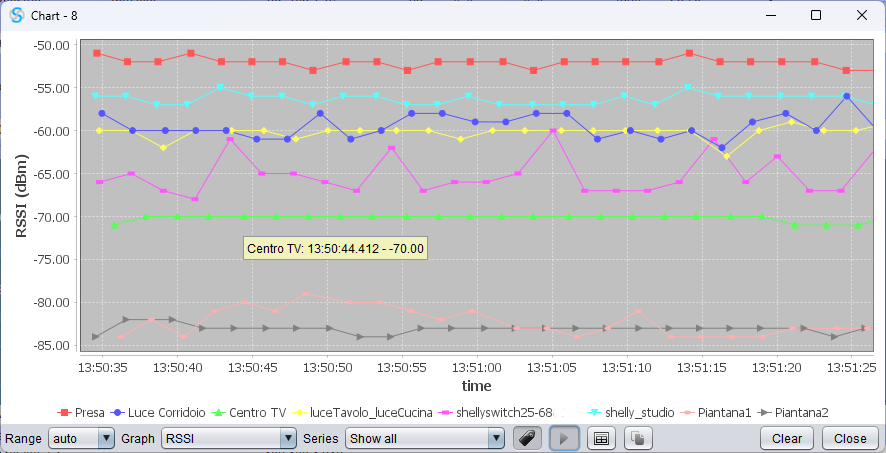
To activate the charts just select the devices you want to monitor on the main application window and press the appropriate button  on the toolbar.
A window will open; inside this window data appears as the application receives it; if more devices are selected, the graphs of each of them will be overlapped.
The acquisition frequency is the same of status refresh rate for each device and can be modified from the application settings.
on the toolbar.
A window will open; inside this window data appears as the application receives it; if more devices are selected, the graphs of each of them will be overlapped.
The acquisition frequency is the same of status refresh rate for each device and can be modified from the application settings.
The lower section of the window contains:
- a selector to choose the visible shown range (you can cycle between the possible values with ctrl-R);
- a selector to choose the quantities to be monitored (the default value can be selected from the application settings; if a quantity is not available for a given device the corresponding graph will not appear);
- a selector to choose a single graph to display among those possibly plotted (the others continue to collect the values);
- a button
 to choose whether or not to highlight the sampling points; on these points a tooltip providing the exact time/quantity values can be shown;
 - a button
 /
/  that allows you to pause/restart chart updates, during the pause the transmitted data are still accumulated and are displayed on restart (you can, alternatively, change the status using ctrl-P from the keyboard);
 - a button
 that allows you to save a file in CSV format with the acquired data (the separator can be changed from appication settings);
if the graph is paused, only visible data is exported, otherwise the data set is exported.
The CSV file can have two different formats according to the application general settings
that allows you to save a file in CSV format with the acquired data (the separator can be changed from appication settings);
if the graph is paused, only visible data is exported, otherwise the data set is exported.
The CSV file can have two different formats according to the application general settings  : horizontal orientation where any devices produces 4 rows:
- Name
- UNIX-time (milliseconds since Unix epoch)
- Timestamp
- Values
- a button
 that copies the graph on the clipboard (the same result is obtained using the usual keyboard shortcut for "copy");
 - a button that deletes the acquired data;
- a button that closes the window.
Dragging the mouse from left to right and from top to bottom on a graph activates the zoom on the selected area and the updating of the graph is automatically paused. While paused you can also use the mouse wheel to
control the magnification. To return to normal viewing, simply restart the update () or drag the mouse from right to left.
Launching the application from a terminal adding the -graphs parameter (e.g. java -jar <full path>\shellyscan-x.x.x.jar -graphs) all data used to draw the graphs are also written on the standard output in the following format:
graph_out-><device hostname>:<channel index>:<measure type id>:<unix-time (ms)>:<value>
Multiple chart windows can be opened at the same time, each possibly with different devices or chart types.